
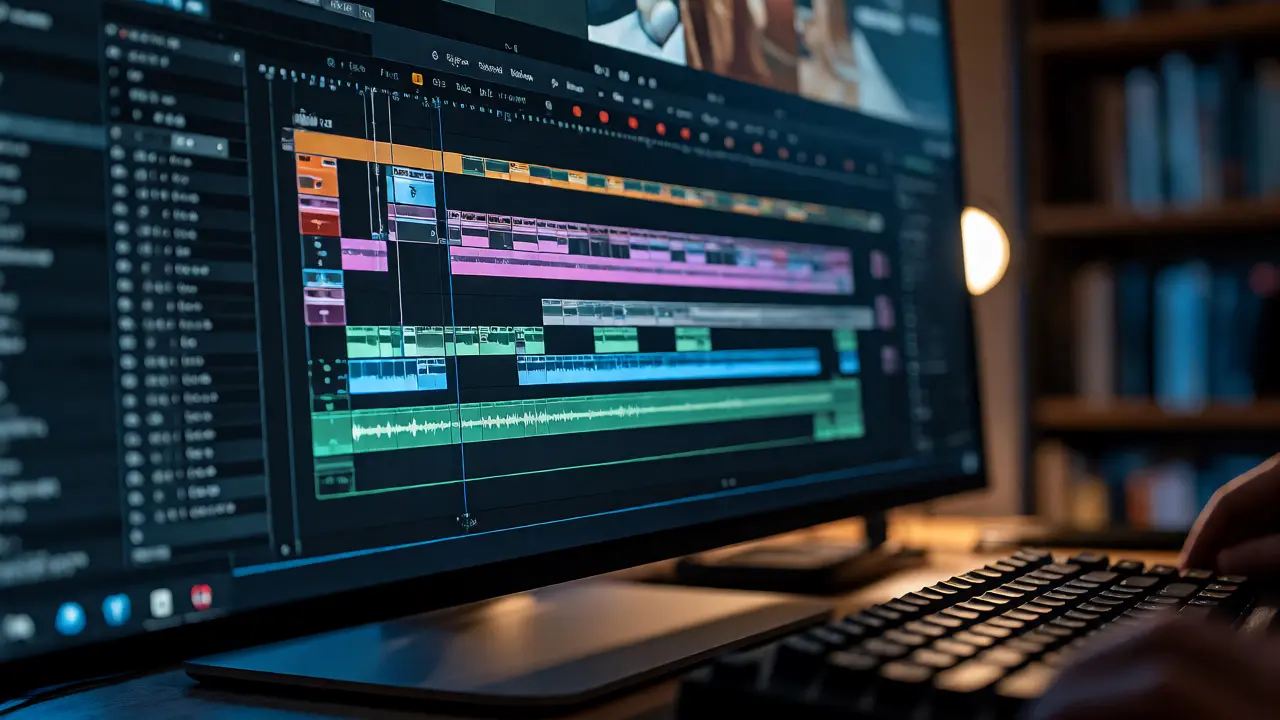
You’ve spent weeks recording your online course videos. The lighting is perfect, the audio is crisp, and you’re ready to upload. Then reality hits: a single 10-minute lesson takes up 2GB of storage, buffers endlessly on mobile data, or looks like pixelated mush when compressed too hard. It’s not just about saving space; it’s about respecting your student’s bandwidth and patience.
Most instructors guess their way through export settings. They pick "High Quality" in Premiere Pro or CapCut and hope for the best. But video compression is a science with specific rules. If you get the codec wrong, your file size balloons. If you set the bitrate too low, text on screen becomes unreadable. This guide cuts through the jargon. We’ll look at exactly which formats work best for e-learning platforms, what bitrates actually matter, and how to balance quality against load times without needing a degree in computer science.
Why Your Export Settings Make or Break Student Experience
Think of video compression as packing a suitcase. You have limited space (bandwidth/storage), but you need to fit everything important (visual clarity). Uncompressed video is massive-raw footage from a mirrorless camera can hit 500 Mbps per second. That’s gigabytes for minutes of footage. No student wants to wait five minutes for a lesson to buffer.
The goal of video compression is to remove visual data that the human eye barely notices while keeping the essential details sharp. For online courses, this means prioritizing static elements like slides, code snippets, or talking heads over fast-motion action sequences. A fitness instructor jumping around needs different specs than a coding tutorial showing static IDE screens.
When compression fails, two things happen:
- Buffering: The student’s internet can’t download the video faster than it plays.
- Artifacts: Blocky pixels appear around moving objects or text, making content hard to read.
Getting this right isn't just technical hygiene; it directly impacts completion rates. Students drop off if they spend more time waiting for a video to load than watching it.
H.264 vs. HEVC: Choosing the Right Codec
A codec is the software that compresses and decompresses video. Think of it as the language your video file speaks. Two names dominate the market: H.264 (also known as AVC) and HEVC (H.265).
H.264 has been the industry standard since roughly 2003. Why? Compatibility. Every browser, every smartphone, every smart TV, and every learning management system (LMS) like Teachable, Kajabi, or Canvas supports it out of the box. If you export in H.264, you know everyone can watch it.
HEVC is newer and smarter. It uses advanced algorithms to squeeze more quality into less space. Generally, HEVC delivers the same visual quality as H.264 at half the file size. Or, it delivers better quality at the same file size. Sounds perfect, right? Not always.
| Feature | H.264 (AVC) | HEVC (H.265) |
|---|---|---|
| Compatibility | Universal (99%+ devices) | High (iOS, Android, Modern Browsers) |
| Compression Efficiency | Good | Excellent (~50% smaller files) |
| Processing Power | Low (easy for old devices) | High (may lag on older phones) |
| Licensing Cost | Complex/Expensive for creators | Complex/Expensive for creators |
| Best For | General audiences, mixed devices | 4K content, tech-savvy audiences |
Here’s the catch: HEVC requires significant processing power to decode. An iPhone 12 handles it fine. An Android phone from 2018 might stutter or drain battery rapidly trying to play an HEVC file. Furthermore, some older web players still struggle with HEVC without specific plugins or hardware acceleration support.
The Verdict: Stick with H.264 unless you are targeting a high-end audience or dealing with massive 4K files where storage costs are critical. For 90% of online courses, H.264 remains the safest bet for universal accessibility.
Container Formats: MP4 Is King (But Know Your Options)
Don’t confuse the codec with the container. The codec (H.264) is the method used to compress the video stream. The container (MP4, MOV, MKV) is the wrapper that holds the video, audio, subtitles, and metadata together.
MP4 is the de facto standard for online video delivery. It’s lightweight, widely supported by HTML5 video tags, and works seamlessly across all major LMS platforms. When you export from Adobe Premiere, DaVinci Resolve, or Final Cut Pro, choose MP4.
What about MOV? It’s Apple’s proprietary format. While QuickTime plays it beautifully, uploading a .mov file to a non-Apple-centric platform often triggers re-encoding processes that can degrade quality or take hours. Avoid it for final delivery.
MKV offers great flexibility but poor browser support. Unless you’re distributing videos via a custom app that bundles its own player, skip MKV.
One critical setting inside the MP4 container is the "Fast Start" option (sometimes called "Web Optimized"). This moves the metadata index to the beginning of the file. Without it, the browser must download the entire file before it can start playing. With it, playback begins instantly. Always enable this.

Bitrate Settings: The Sweet Spot for Clarity
Bitrate determines how much data is allocated per second of video. Too low, and you get blockiness. Too high, and you waste bandwidth. There is no single "correct" number because it depends on resolution and motion complexity.
For most online courses, you are dealing with 1080p Full HD resolution. Here are the proven ranges for H.264 encoding using Variable Bitrate (VBR):
- Talking Head / Static Slides: 3-5 Mbps. Since there’s little movement, the encoder doesn’t need much data to keep the image sharp.
- Screen Recording / Code Tutorials: 5-8 Mbps. Text requires higher fidelity to remain legible. Low bitrates cause small fonts to blur.
- Active Demonstrations / Hand Movements: 8-12 Mbps. If you’re cooking, crafting, or demonstrating physical tasks, motion creates complexity that demands more data.
Should you use Constant Bitrate (CBR) or Variable Bitrate (VBR)? Use VBR. CBR forces the encoder to use the same amount of data every second, even during pauses. VBR allows the encoder to save bits during static moments and spend them during complex scenes. This results in smaller files with better average quality.
If you are offering 4K options, double these numbers. A 4K talking head needs ~15-20 Mbps. However, ask yourself: do your students actually need 4K? On a 6-inch smartphone screen, the difference between 1080p and 4K is negligible. Save the storage money.
Audio Matters More Than You Think
Instructors obsess over video quality but neglect audio. Bad video is forgivable; bad audio makes people quit immediately. If your voice echoes or crackles, students will close the tab regardless of how crisp the video looks.
Use AAC (Advanced Audio Coding) for your audio track within the MP4 container. It’s efficient and universally compatible.
Set your audio bitrate to 192 kbps or 256 kbps. Anything below 128 kbps sounds tinny and amateurish. Ensure your sample rate is 48 kHz, which is the standard for video production. Mixing 44.1 kHz (CD audio standard) with video can sometimes cause sync issues depending on the player, though modern systems usually handle it fine. Consistency prevents headaches.
Pro Tip: Normalize your audio levels. Aim for -14 LUFS (Loudness Units Full Scale) integrated loudness. This ensures your volume matches other videos on platforms like YouTube or Vimeo, preventing students from constantly adjusting their volume knob.

Practical Workflow: From Edit to Upload
Let’s put this into practice. Imagine you’ve finished editing a 20-minute Python tutorial in DaVinci Resolve. Here’s how to export it correctly:
- Select Format: Choose MP4.
- Select Codec: Choose H.264 (or H.265 if you’re feeling adventurous and testing compatibility).
- Resolution: Keep it at 1920x1080. Don’t upscale 720p footage to 1080p; it just inflates file size without adding detail.
- Frame Rate: Match your source footage (usually 24, 25, or 30 fps). Do not change frame rates during export unless necessary.
- Quality/Bitrates: Set to "Automatic" initially, then check the estimated file size. If it’s huge, switch to Manual and set Target Bitrate to 5 Mbps for screen recordings.
- Audio: AAC, 256 kbps, Stereo.
- Optimization: Check the box for "Fast Start" or "Web Optimized".
After exporting, don’t just trust the settings. Watch the file on a mobile device using cellular data. Does it buffer? Is the text readable? This real-world test catches issues that desktop previews miss.
Pitfalls to Avoid
Even with good settings, mistakes happen. Here are common traps:
- Double Compression: Uploading an already compressed MP4 to a platform that re-encodes it again (like Facebook or LinkedIn native uploads) degrades quality significantly. Use external hosting (YouTube/Vimeo unlisted, or direct LMS upload) to control the pipeline.
- Ignoring Aspect Ratio: Stick to 16:9. Vertical video (9:16) is great for TikTok marketing, but terrible for educational content where horizontal context matters.
- Overlooking Keyframe Intervals: In advanced encoders, setting keyframes too far apart causes scrubbing lag. Most default settings are fine, but if students complain about seeking being slow, reduce the GOP (Group of Pictures) size.
By mastering these technical specs, you stop fighting technology and start leveraging it. Your videos become lighter, load faster, and look professional, letting your teaching shine without technical distractions.
Is AV1 better than H.264 for online courses?
AV1 is the newest open-source codec and offers superior compression efficiency compared to H.264 and HEVC. However, its adoption is still growing. Many older browsers and devices lack hardware decoding for AV1, leading to high CPU usage and battery drain. For now, stick to H.264 for maximum compatibility, or use AV1 only if you know your audience uses modern devices.
Do I need to convert my videos if I use YouTube as my host?
No. YouTube automatically transcodes your uploaded video into multiple resolutions and codecs (VP9, AV1, H.264) based on the viewer's device and connection speed. You should upload the highest quality master file you can afford (e.g., ProRes or high-bitrate H.264) to give YouTube the best source material to work with.
What is the best file size limit for online course videos?
There is no strict rule, but aim for under 500MB per 10-minute lesson if hosting directly on an LMS. Larger files may cause upload timeouts or slow initial loading. Using adaptive bitrate streaming (via services like Vimeo OTT or Wistia) allows larger files because the player adjusts quality dynamically.
Can I edit video files after compression?
You can, but it's inefficient. Compressed files (like H.264 MP4s) are difficult for editing software to process smoothly because the data is tightly packed. This leads to choppy playback in the timeline. Always edit with intermediate codecs (like ProRes or DNxHR) and only compress to H.264/HEVC as the final step.
Does 60fps make a big difference for tutorials?
For most instructional content, 30fps is sufficient and saves 50% bitrate compared to 60fps. Use 60fps only if you are recording fast-moving demonstrations (like sports or chemistry experiments) where smooth motion is critical. For screen recordings or talking heads, 24 or 30fps is standard and looks natural.
