Most learning management systems (LMS) today don’t just sit there waiting for you to log in and upload courses. They’re part of a bigger ecosystem - HR tools, email platforms, payment gateways, analytics dashboards. But connecting them manually? That’s where things slow down. That’s where webhooks come in. They let your LMS talk to other systems in real time, without you lifting a finger. No more exports, no more scheduled imports, no more spreadsheet chaos.
What webhooks actually do for your LMS
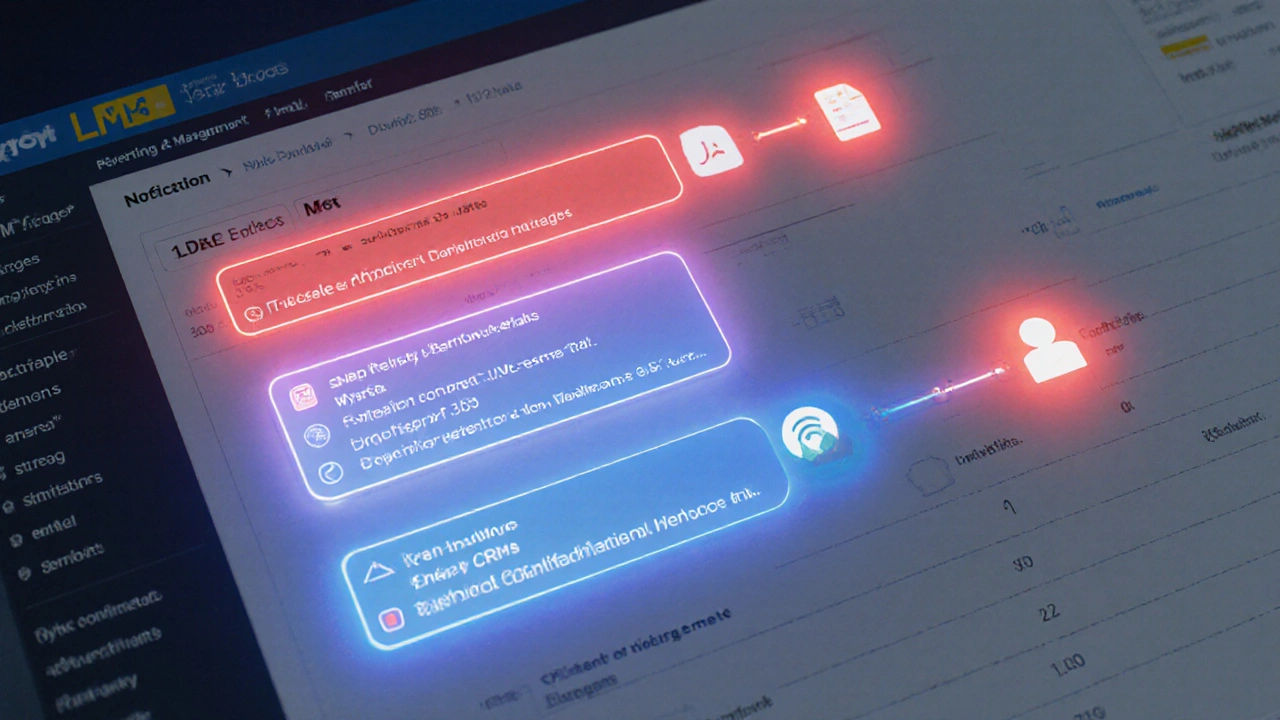
A webhook is like a digital alarm. When something happens in your LMS - say, someone finishes a course, or a new user signs up - the system sends an instant message to another app. That message is a small packet of data, usually in JSON format. The receiving app hears the alarm, checks the details, and acts. Maybe it adds the learner to a Slack channel. Maybe it triggers a certificate email. Maybe it updates their status in your CRM.
Compare that to polling. Polling means your other system checks the LMS every 5 minutes, every hour, every day: “Any new users? Any completions?” It’s like knocking on a door every 10 minutes to see if someone’s home. Webhooks? It’s like the LMS texts you the moment someone walks in. No waiting. No wasted cycles.
Companies using webhooks for LMS automation report 60-80% fewer manual tasks. That’s not a guess. It’s from a 2024 survey of 217 UK-based education providers using Moodle, Canvas, and TalentLMS. Those who automated onboarding and certification saw a 45% drop in helpdesk tickets related to access issues.
What you need before you start
Webhooks aren’t magic. They need a solid foundation. Here’s what you must have ready:
- Your LMS must support webhooks. Not all do. Check your LMS documentation. Canvas, Moodle, Blackboard, and LearnDash all support them. If you’re using a custom or older system, you might need an API layer or middleware.
- A destination app that accepts webhooks. This could be Zapier, Make (formerly Integromat), Microsoft Power Automate, or even a custom script you wrote. Most modern tools do. If you’re building your own, you’ll need a public URL with HTTPS - no localhost.
- A way to test and monitor. You’ll get failed deliveries. You’ll get malformed data. You need to see what’s going wrong. Tools like webhook.site or Postman can help you capture and inspect payloads before they hit your system.
- Clear goals. Don’t automate for the sake of it. Ask: “What task do I do manually that takes more than 10 minutes a week?” That’s your first webhook target.
Step-by-step: Setting up your first webhook
Let’s say you want to auto-enroll learners into a follow-up course after they complete their onboarding module. Here’s how:
- Find the webhook trigger in your LMS. In Canvas, go to Account Settings > Webhooks. In Moodle, it’s under Site Administration > Plugins > Web Services > Webhooks. Look for events like “course completed,” “user enrolled,” or “user profile updated.”
- Copy the webhook URL. This is where your LMS will send data. If you’re using Zapier, create a new Zap, pick “Webhooks by Zapier” as the trigger, and copy the unique URL it gives you. That’s your destination.
- Pick the event. Choose “Course Completed” as the trigger. Don’t select “User Created” - that’s too broad. You want precision.
- Set the payload format. Most LMSs let you choose between JSON or XML. Always pick JSON. It’s easier to read and process.
- Test it. Click “Test Webhook” if your LMS offers it. Then check your Zapier or Make dashboard. Did the data arrive? Look for fields like
user_id,course_id, andcompletion_date. If you see them, you’re good. - Connect the action. In Zapier, add a new step: “Create User in Course” using your LMS’s API. Map the
user_idfrom the webhook to the target course. Save and turn the Zap on.
That’s it. The next time someone finishes the onboarding course, they’re automatically added to the next one. No emails. No admin login. No forgotten steps.
Common webhook triggers for LMS automation
Here are the top 5 events you should automate, based on real usage patterns from UK colleges and corporate training teams:
- User registration → Add to email list, send welcome pack, assign initial course.
- Course completion → Issue certificate, notify manager, unlock next module.
- Quiz failure → Send remedial content, flag for tutor review, schedule retake.
- Payment confirmed → Grant access, send invoice, update accounting software.
- Profile update → Sync with HR system, update role permissions, adjust content access.
Start with one. Get it working. Then add another. Don’t try to automate everything at once. That’s how systems break.
What can go wrong - and how to fix it
Webhooks are powerful, but they’re not foolproof. Here are the top three issues I’ve seen in real implementations:
1. The webhook doesn’t fire
Most of the time, it’s because the trigger event isn’t set right. “Course completed” might mean different things. Did the learner pass? Did they just finish the last page? Check your LMS’s exact definition of the event. Test it yourself. Log in as a test user and complete the course. Watch the webhook log.
2. The data is missing or malformed
Your destination app expects email, but the LMS sends user_email. Or the date format is 2025-11-16T14:30:00Z and your system wants 16/11/2025. Always check the raw payload. Use webhook.site to capture it. Then map the fields correctly in your automation tool.
3. The destination app is down
Webhooks don’t retry automatically unless you’re using a platform like Make or Zapier with built-in retry logic. If your server crashes during delivery, that event is lost. Solution? Use a middleware layer like n8n or a cloud function (AWS Lambda, Azure Functions) that can queue failed deliveries and retry them later.
Advanced: Building your own webhook receiver
If you’re a developer or work with one, you can skip Zapier and build your own endpoint. Here’s a basic Python example using Flask:
from flask import Flask, request, jsonify

app = Flask(__name__)

@app.route('/webhook/lms', methods=['POST'])
def handle_lms_webhook():
    data = request.get_json()

    if data.get('event') == 'course_completed':
        user_id = data['user_id']
        course_id = data['course_id']

        # Send email, update CRM, etc.
        send_certificate_email(user_id)
        update_crm_status(user_id, 'completed')

        return jsonify({"status": "success"}), 200

    return jsonify({"error": "unknown event"}), 400

if __name__ == '__main__':
    app.run(ssl_context='adhoc', host='0.0.0.0', port=5000)
This needs to run on a server with a public HTTPS URL - use ngrok for testing, or deploy to Render or Fly.io. You’ll also need to validate the request came from your LMS. Most systems let you set a secret token. Add a header check:
if request.headers.get('X-LMS-Signature') != YOUR_SECRET_TOKEN:
    return jsonify({"error": "unauthorized"}), 401
That stops random people from spamming your endpoint.
Why this matters for your business
Automating LMS workflows isn’t about saving time. It’s about reducing risk. Missed certificates? That’s a compliance issue. Delayed access? That’s learner frustration. Manual data entry? That’s errors creeping in.
One Edinburgh-based training provider cut their onboarding errors by 92% after setting up webhooks between their LMS and HR system. They used to manually match new hires in Workday to courses in LearnDash. It took 3 hours a week. Now it’s instant. And their audit logs are flawless.
Webhooks turn your LMS from a static repository into a living part of your business engine. It’s not just about learning anymore. It’s about action.
What to do next
Don’t wait for perfection. Pick one manual task you do every week. Find the trigger in your LMS. Set up a simple webhook to Zapier. Test it. Watch it work. Then do it again.
Here’s a quick checklist to get started:
- Identify your top 3 repetitive LMS tasks
- Confirm your LMS supports webhooks
- Choose one automation to test this week
- Set up a test user account
- Use webhook.site to capture the payload
- Connect it to a simple action (email, Slack, CRM)
- Turn it on and watch it run
You don’t need a developer. You don’t need a big budget. You just need to start.
Do all LMS platforms support webhooks?
No. Most modern platforms like Canvas, Moodle, Blackboard, and TalentLMS do. Older or custom-built systems may not. Check your LMS’s documentation under “API,” “Webhooks,” or “Integrations.” If it’s not listed, you might need to use an API with polling or a middleware tool like n8n to bridge the gap.
Can webhooks work with free LMS tools?
Yes - but with limits. Free versions of Moodle or LearnDash often disable webhooks or limit how many you can create. If you’re on a free plan, you might need to upgrade to access webhook features. Check your plan’s API limits. Some platforms offer webhooks only on Business or Enterprise tiers.
Are webhooks secure?
They can be, if you set them up right. Always use HTTPS. Enable signature verification if your LMS offers it (like Canvas or Moodle). Never expose your webhook endpoint publicly without a secret token. Avoid using webhooks to send sensitive data like passwords or bank details. Stick to IDs and event types - handle personal data on the receiving end with proper security.
What’s better: webhooks or APIs?
They’re not competitors - they’re partners. APIs let you ask for data on demand (“What users are enrolled?”). Webhooks let you get notified when something changes (“User X just finished”). Use APIs to pull data when needed. Use webhooks to react instantly. Most automation workflows use both.
How do I test a webhook without affecting real users?
Create a test course and a test user account in your LMS. Use a tool like webhook.site or RequestBin to capture the payload. Trigger the event manually (complete the course as the test user). Check what data arrives. Once you’re sure it works, connect it to your automation tool. Only then, enable it for live users.

Comments (9)
Krzysztof Lasocki November 17 2025
Bro, I set up a webhook last week to auto-send Slack alerts when someone finishes the compliance course. It’s like my LMS finally stopped being a digital brick wall. No more begging IT to export CSVs. I literally cried when I saw the first notification pop up. 60% time saved? More like 80%. This post is a godsend.
Henry Kelley November 18 2025
webhooks are life changing frfr. i used to spend 2 hrs every monday just matching new hires to courses. now it just happens. no more ‘did you get your access?’ emails. my boss thinks i’m a wizard. i just copied the url from zapier and hit save. magic.
Victoria Kingsbury November 19 2025
Let’s be real - most orgs don’t even have proper event schema definitions in their LMS payloads. You think ‘course_completed’ means passed? Nope. It means ‘clicked the last slide.’ I’ve seen learners get certificates for watching 3 minutes of a 4-hour module. Always validate the event metadata. Use JSON Schema validation on your receiver. And yes, HTTPS is non-negotiable - I’ve seen webhook endpoints get scraped for user IDs by botnets. Don’t be that guy.
Tonya Trottman November 20 2025
Oh wow, another ‘webhooks are magic’ blogpost. Let me guess - you didn’t account for rate limiting, didn’t set up exponential backoff, and your ‘test user’ was actually your coworker’s real account. You think sending a JSON payload is automation? Nah. You’re just outsourcing your laziness to Zapier. And please, stop calling it ‘no coding.’ Writing a Flask endpoint is literally 15 lines. You’re not a dev, you’re a clicker. Also - ‘webhook.site’? That’s like using a paper towel to mop up a flood. Use ngrok + logging middleware. Or better yet, don’t automate anything until you understand HTTP status codes. 400, 401, 429 - learn them. Or keep losing certificates.
Rocky Wyatt November 21 2025
You people are so naive. Webhooks? That’s how data leaks start. Your LMS sends user emails, IDs, course history - straight to some random Zapier endpoint that’s hosted on a free tier with no auth. You think your ‘HR system’ is secure? It’s not. That’s how the 2023 EdTech breach happened. Someone hijacked a webhook and dumped 12,000 learner records on the dark web. You’re not saving time - you’re handing over your compliance liability to a third-party SaaS with a free plan. Stop. Just stop.
Santhosh Santhosh November 21 2025
I work in a small college in Kerala, India. We use Moodle, free version. No webhooks. So I wrote a Python script that polls the API every 15 minutes, checks for course completions, and then calls our internal email service. It’s not elegant. It’s not real-time. But it works. And it cost us nothing. I know people say webhooks are better, but sometimes you don’t have the budget or the IT support. I spent three weeks learning how to use requests and json libraries. It was hard. But now, when a student finishes a course, they get their certificate within 20 minutes. Not instant. But better than before. So if you’re stuck with a legacy system - don’t give up. Just be patient. And maybe ask your IT guy for coffee. They’re usually nice.
Veera Mavalwala November 23 2025
Y’all are acting like webhooks are some sacred tech oracle. Pfft. I’ve seen systems where the webhook fires 17 times because the LMS thinks ‘clicking the next button’ counts as completion. Then your CRM gets 17 duplicate entries. Your email list turns into a spam graveyard. Your Slack channel explodes with 17 ‘CONGRATS!’ bots. I’ve seen a company lose $22k because someone got 17 certificates and cashed in 17 course bonuses. Webhooks ain’t magic - they’re a double-edged sword wrapped in duct tape and hope. Test. Test again. Then test with a monkey on a keyboard. If your automation survives that - maybe it’s ready.
Ray Htoo November 23 2025
Anyone else use n8n instead of Zapier? It’s open source, self-hosted, and lets you actually see the data flow like a flowchart. I built a whole onboarding pipeline - LMS → n8n → Airtable → Slack → Gmail → HRIS. It’s beautiful. And I can edit the logic without calling support. Plus, I get to laugh at how much Zapier charges for 1000 tasks. n8n runs on a $5 droplet. Also, if you’re using Flask - don’t forget to add a user-agent filter. I got hit with 800 fake webhook requests from a bot trying to exploit the endpoint. Just block anything that doesn’t say ‘Moodle’ or ‘Canvas’ in the UA. Simple. Effective.
Natasha Madison November 24 2025
Webhooks. Of course. Just like how ‘cloud’ means ‘someone else’s computer.’ You think your LMS is secure? What if the webhook URL gets leaked? What if someone spoofs the signature? What if your HR system gets compromised through a webhook payload? You’re not automating - you’re building a backdoor. And who’s auditing this? No one. You’re trusting a third-party service that doesn’t even have a privacy policy. This isn’t innovation. It’s negligence dressed up as efficiency.