
Think about the last time you quit an online course. Was it because the material was bad? Probably not. It was likely because the instructor’s audio sounded like they were recording inside a tin can, or their face was buried in shadow while they tried to explain complex code. You don’t need a Hollywood studio to fix this. In fact, some of the highest-rated courses on platforms like Udemy and Teachable were shot with gear that costs less than a decent pair of sneakers.
The biggest myth in DIY course video production is that you need expensive tools to look professional. The truth is simpler: viewers forgive imperfect visuals if the audio is crisp and the lighting is consistent. But they will click away instantly if they can’t hear you or see your eyes. With a strict budget of $500, you can build a setup that rivals studios charging thousands. This guide breaks down exactly where to spend your money, what to ignore, and how to assemble a rig that makes your content feel premium without draining your bank account.
Why Audio Beats Video Every Time
If you only have $100 left after buying everything else, spend it all on a microphone. Human brains process sound differently than sight. We tolerate grainy video as "authentic" or "indie," but we interpret poor audio as unprofessional or confusing. When someone listens to a lecture, they are actively decoding speech. If there is background hum, echo, or muffled tones, their cognitive load spikes. They get tired faster. They stop learning.
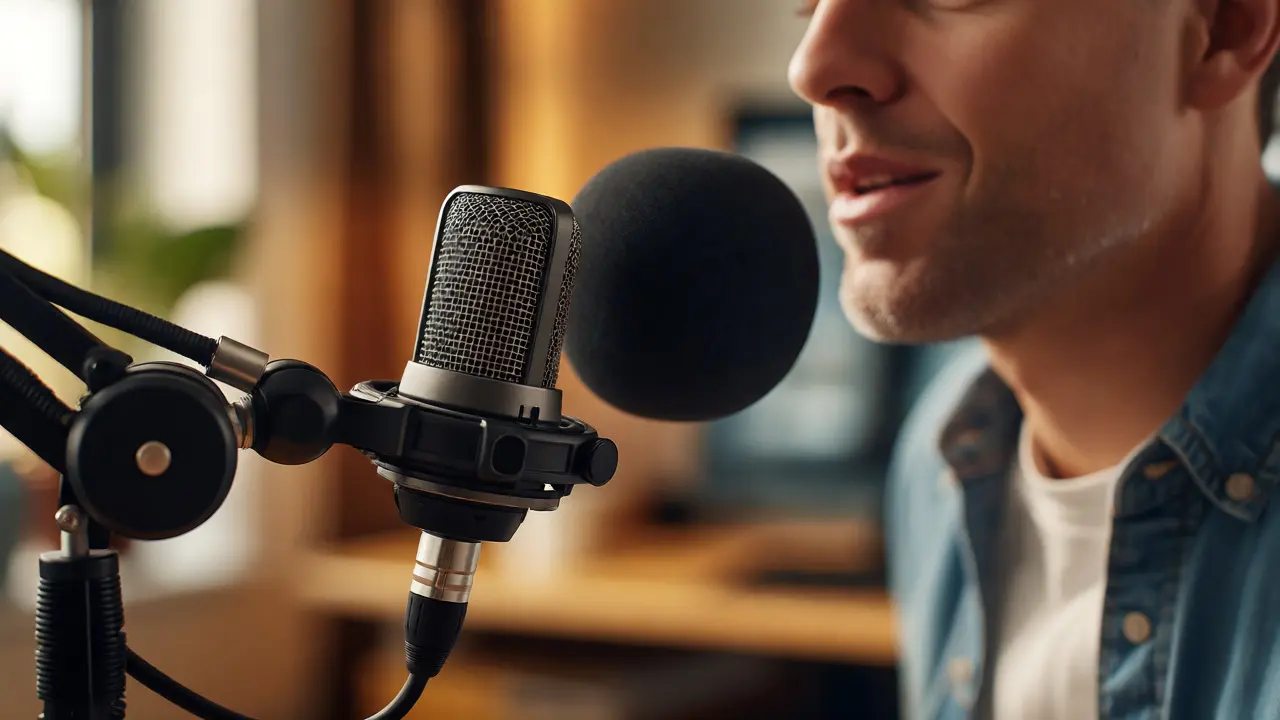
For most creators filming at a desk, a USB condenser microphone is the sweet spot. Unlike XLR setups that require an audio interface (adding cost and complexity), USB mics plug straight into your computer. Look for models with cardioid pickup patterns. This means the mic focuses on sound coming from directly in front of it-your mouth-and rejects noise from behind, like keyboard clacking or air conditioning hums.
Don't just buy the mic; buy the position. Place the microphone close to your mouth, ideally 6-8 inches away. Use a boom arm if possible to keep it out of the frame and reduce vibrations from your desk. A simple foam windscreen helps too, cutting down on plosives (those harsh 'P' and 'B' sounds) without costing more than ten bucks.
Lighting Is Not About Brightness
Most people think lighting means turning on every lamp in the room. That’s wrong. Bad lighting creates harsh shadows under your eyes and nose, making you look tired even if you’re energetic. Good lighting is about control and softness. You want light that wraps around your face, minimizing deep shadows.
You don’t need expensive LED panels yet. Start with natural light if you can film during the day. Sit facing a large window. The sun provides a massive, soft light source that flatters almost everyone. But here’s the catch: daylight changes. Clouds move. Sunsets happen. If your course videos are filmed over several days, your exposure will drift, creating inconsistent footage that looks jarring when edited together.
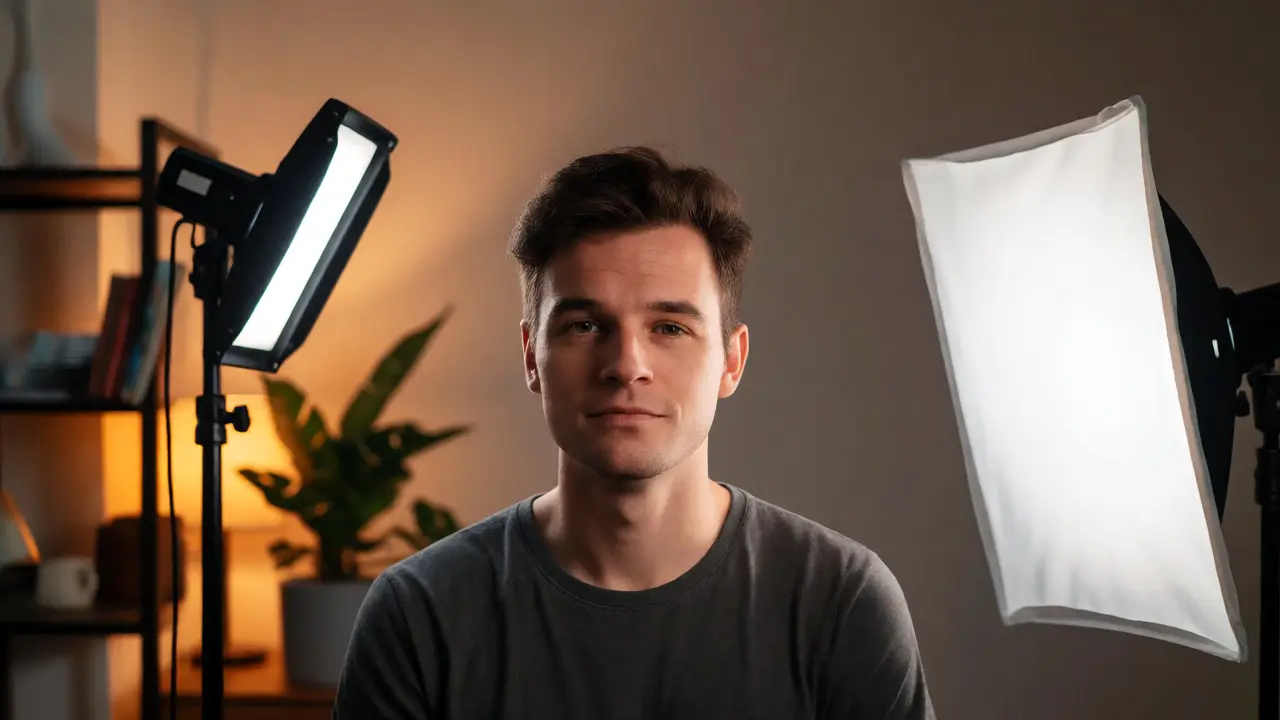
To solve this, invest in a basic continuous LED panel with adjustable color temperature. Look for one that allows you to switch between warm (3000K) and cool (5600K) tones. Set it to match your room’s ambient light or block out windows entirely and rely solely on artificial sources. Position the key light slightly above eye level and angled down at 45 degrees. This mimics the classic Rembrandt lighting style used in portraits, adding depth without looking theatrical.
- Key Light: Your main source. Should be bright enough to illuminate your face clearly.
- Fill Light: Optional. Reduces contrast. Can be a white reflector board ($15) instead of a second light.
- Rim Light: Optional. Separates you from the background. Helps if you wear dark clothes against a dark wall.
Choosing the Right Camera Within Budget
Here is where budgets often explode. Do you really need a mirrorless camera? For talking-head course videos, probably not. Modern smartphones shoot 4K video that is indistinguishable from entry-level DSLRs when viewed on laptop screens. However, smartphones have limitations: overheating, limited manual controls, and difficult framing when mounted.
A dedicated webcam has improved drastically. Models like the Logitech Brio or newer AI-enhanced webcams offer excellent autofocus and low-light performance. They are plug-and-play, require no batteries, and integrate seamlessly with streaming software like OBS Studio. For a beginner, this removes technical friction. You focus on teaching, not fiddling with ISO settings.
If you want higher quality, consider a used mirrorless camera like a Sony ZV-E10 or Canon M50 Mark II. These cameras offer better depth of field (that blurry background effect) and superior dynamic range. But remember: a great lens matters more than the body. Pair a cheap body with a fast prime lens (like a 50mm f/1.8) to get that professional look. Avoid zoom lenses unless necessary; they are heavier, darker, and often softer in image quality.
| Option | Approx. Cost | Best For | Trade-off |
|---|---|---|---|
| Smartphone | $0 (if owned) | Quick starts, vertical clips | Battery life, heat, storage limits |
| High-End Webcam | $100 - $150 | Live classes, simplicity | Limited creative control |
| Used Mirrorless + Prime Lens | $350 - $450 | Highest visual polish | Learning curve, bulkier setup |
The Hidden Costs: Tripods, Backgrounds, and Acoustics
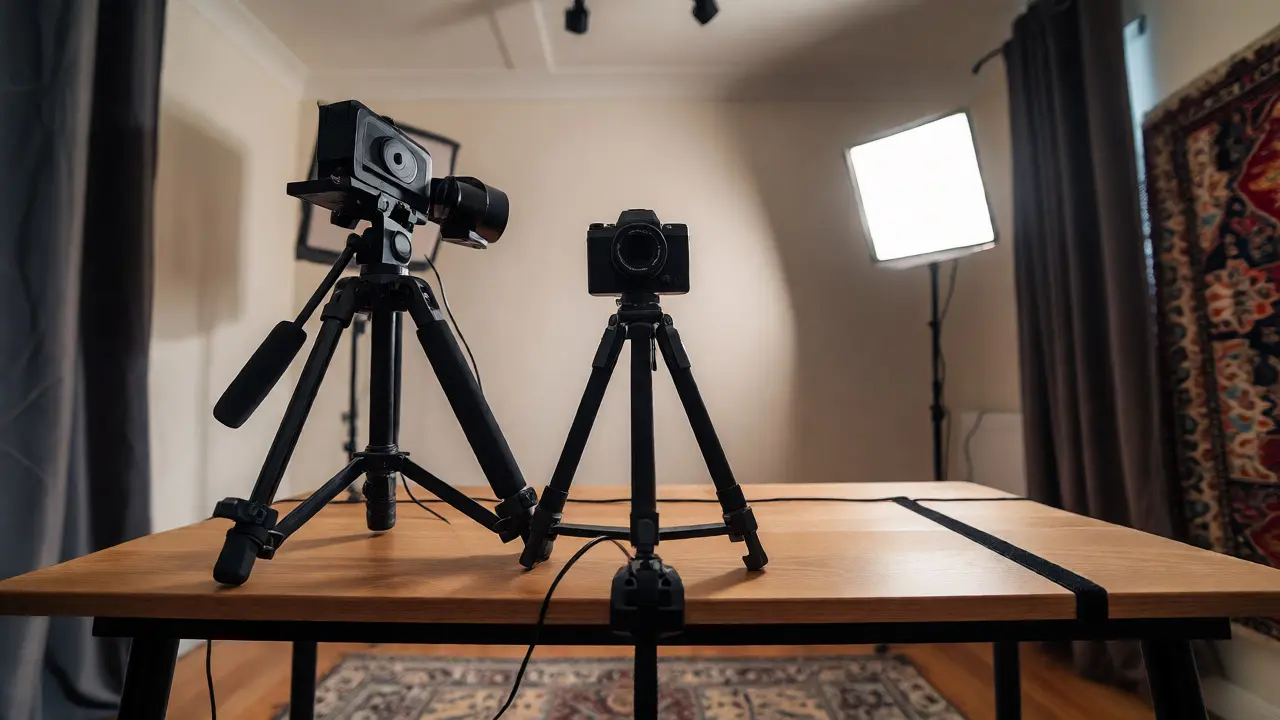
Your camera needs stability. Handheld shots induce motion sickness and distract from the message. A sturdy tripod is non-negotiable. Don’t buy the cheapest aluminum stick; it will wobble. Look for a tripod with a fluid head if you plan to pan, or a simple ball head for static talking heads. Ensure it supports your camera’s weight plus accessories. Overloading a cheap tripod leads to catastrophic falls.
Backgrounds matter more than you think. A messy bedroom screams "amateur." You don’t need a green screen-that requires careful lighting and chroma keying skills. Instead, create depth. Move yourself three feet away from the wall behind you. Add a plant, a bookshelf, or a framed print. This separation prevents you from looking flat against the wall and adds visual interest without clutter.
Acoustic treatment is the silent killer of engagement. Echoey rooms make speech unintelligible. You don’t need acoustic foam panels covering every inch. Start with absorption. Hang heavy blankets or curtains behind the camera (not behind you, unless you want to kill reflections). Place rugs on hard floors. If you are in a small office, put pillows in corners to break up standing waves. Test your room by clapping loudly. If you hear a metallic ring, you have reverb issues. Fix it before you record.
Software and Workflow Efficiency
Hardware gets the glory, but software saves your sanity. You need two types of software: recording/editing and teleprompter. Free options exist for both, but they come with time costs. DaVinci Resolve offers a free version that is industry-standard for editing. It handles color correction, audio mixing, and cuts beautifully. The learning curve is steep, though. If you hate tech, try CapCut (desktop version) or iMovie. They are intuitive and sufficient for linear course structures.
Teleprompters prevent you from staring off-camera or losing your train of thought. Paid apps charge monthly subscriptions. Open-source alternatives work fine. Print your script in large font, tape it near the lens, or use a tablet app that scrolls text. Practice reading naturally. Eye contact builds trust. If you read robotically, viewers disconnect. Rehearse until the words flow, then record.
File management is boring but critical. Create a folder structure immediately: /Course_Name/Module_01/Lesson_01/Raw_Footage. Back up everything twice. Losing a week’s worth of recordings due to a corrupted SD card is a nightmare scenario that happens more often than you’d like to admit.
Putting It All Together: The 0 Breakdown
Let’s look at a realistic shopping list based on current market prices in September 2026. Prices fluctuate, so shop sales aggressively.
- Microphone: Audio-Technica AT2020USB+ or similar USB condenser. ~$120.
- Boom Arm: Basic scissor-arm mount with shock mount. ~$30.
- Lighting: Two Neewer LED panels with stands. ~$140 total.
- Tripod: Manfrotto Element or similar mid-range tripod. ~$80.
- Camera: Used Sony ZV-E10 with kit lens OR high-end webcam if skipping camera purchase. Let’s assume webcam for lower tier, or allocate remaining funds to lens upgrade. ~$100-$150 depending on choice.
- Miscellaneous: Cables, SD cards, blank wall paint/reflector board. ~$30.
This leaves you with a buffer for unexpected costs or upgrades. Notice we didn’t include a computer. Most creators already own a laptop capable of handling 1080p or 4k editing. If you don’t, this budget won’t cover it. Assume existing hardware.
Common Pitfalls to Avoid
One major mistake is chasing specs over usability. Buying a camera that shoots 8K but has terrible autofocus is useless for solo creators who can’t operate a follow-focus unit. Prioritize reliable autofocus and good low-light performance. Another trap is ignoring battery life. If your camera dies mid-sentence, you lose momentum. Invest in spare batteries or use dummy power adapters connected to mains electricity for long sessions.
Also, don’t underestimate the importance of wardrobe. Wear solid colors. Avoid tight stripes or checks, which cause moiré patterns on camera. Match your clothing tone to your background contrast. Dark shirt on light wall, or vice versa. This ensures you remain the focal point.
Finally, test everything. Record a 5-minute test video. Watch it on your phone, not just your monitor. Check audio levels. Are peaks hitting red? Lower them. Is your face too dark? Adjust lights. Fix problems now, not after editing 20 lessons.
Can I use my smartphone instead of buying a camera?
Yes, absolutely. Modern smartphones (iPhone 13+, Pixel 7+) shoot excellent 4K video. The main challenges are heat dissipation during long takes and limited storage. Use a tripod to stabilize the phone and ensure you have enough space or an external drive solution. For most beginners, a smartphone is the best starting point.
Do I really need two lights?
Not strictly. One strong key light positioned correctly can work well. However, a second light (fill or rim) adds dimension and separates you from the background, reducing the "flat" look common in amateur videos. If budget is tight, start with one powerful light and a white reflector board to bounce light back into shadows.
What is the best resolution for online courses?
1080p (Full HD) is still the standard for most educational platforms. It balances quality with file size and upload speed. 4K is nice but doubles storage needs and processing power requirements for editing. Unless you are selling a premium high-res experience, stick to 1080p at 30fps or 60fps.
How do I hide cables?
Use cable ties, velcro straps, or adhesive clips to run cables along walls or desk edges. Route them behind furniture. If visible in frame, use gaffer tape (matte finish) to secure them to the floor or table. Avoid shiny duct tape as it reflects light.
Is a green screen worth it for beginners?
Usually no. Green screens require even lighting on the backdrop itself, separate from your subject lighting, to avoid spill (green tint on skin). This adds complexity. A physical background with depth is easier to manage and looks more authentic for teaching contexts.

Comments (13)
Chris Neal September 16 2026
Actually, the AT2020USB+ is outdated tech. You should look at the Audio-Technica AT2040 if you want broadcast quality without an interface. Also, claiming a $500 budget gets you a Sony ZV-E10 with a lens is mathematically impossible unless you buy used junk from eBay that has shutter count issues. The autofocus on those older bodies isn't reliable enough for solo creators anyway.
Vishnu Vardhan Reddy M S September 16 2026
Oh wow, thanks for this incredibly detailed breakdown! I love how you emphasized audio over video because honestly, my students forgive my messy background but they absolutely hate when I sound like I'm talking through a wall.
The tip about using heavy blankets for acoustic treatment is genius. I tried buying those expensive foam panels and they barely made a difference compared to just hanging up my winter duvet behind the mic. It’s amazing what works when you actually test it instead of just trusting marketing hype. I’m definitely going to try the Rembrandt lighting setup next week. Thanks again!
Kyle Ware September 17 2026
good advice on the mic placement
one thing i’d add is checking your gain staging before recording anything long
if your input levels are too hot you’ll get digital clipping that no amount of editing can fix
keep peaks around -12db to -6db for safety
this applies whether you use usb or xlr
Iva Grekova September 18 2026
This is such a comforting read. I’ve been putting off starting my course because I thought I needed thousands of dollars in gear. Seeing the breakdown makes it feel so much more achievable. The part about moving away from the wall really resonated with me too; I always forget to do that and end up looking flat against the drywall. Going to order that boom arm today!
Onyinyechi Nwosu September 18 2026
the bit about cognitive load was spot on
i notice myself quitting videos faster when the audio is bad even if the visuals are crisp
thanks for sharing this
Chandan Singh September 18 2026
While the sentiment is correct, the specific hardware recommendations are slightly biased towards Western availability. In many regions, the price-to-performance ratio of local brands or refurbished units differs significantly. Furthermore, suggesting DaVinci Resolve for beginners ignores the steep learning curve involved in color grading nodes, which can be counterproductive for someone whose primary goal is teaching content rather than cinematography. CapCut is indeed better for linear workflows.
Brannen Hall September 19 2026
Great post if you enjoy spending five hours setting up lights for a ten minute video. Most people don't have time for this. Just use a ring light and a phone. Done. This whole 'professional' aesthetic is gatekeeping anyway.
tiffany King September 21 2026
I am so excited to try this! The idea that viewers forgive imperfect visuals if the audio is crisp gives me so much hope. I’ve been struggling with feeling like my setup isn’t good enough, but this checklist makes it seem totally doable. Can’t wait to record my first module!
Brenna Gonedrman September 23 2026
OMG YES THE AUDIO PART IS SO TRUE IT’S UNREAL. My brain literally shuts down when I hear static. Like, why would anyone tolerate that? And the lighting section? Mind blown. I didn’t realize natural light changes so fast. That explains why my videos looked weird last month. Super helpful!
Courtney Wagstaff September 24 2026
Love the vibe of this guide. It feels like a friend walking you through their closet finds. The suggestion to use pillows in corners for acoustics is such a clever hack. I’m gonna raid my couch cushions tonight. Also, the reminder to wear solid colors saved me from a potential moiré disaster. Nice touch.
Elisabeth Ballet September 24 2026
You need to stop worrying about the gear and start worrying about the script. A bad lesson with great audio is still a bad lesson. But yes, fix your audio first because bad audio kills engagement instantly. Get out there and hit record. Don't let perfectionism paralyze you. You got this.
Joanna Mucha September 24 2026
There is a profound irony in reducing the complex art of visual rhetoric to a shopping list under five hundred dollars. We seek to elevate our discourse through technology, yet we often forget that the essence of teaching lies in the connection between minds, not the fidelity of pixels. However, one must concede that poor audio acts as a barrier to entry, disrupting the phenomenological experience of learning. It is a necessary evil, this commodification of presence.
Kim Edwards September 24 2026
I spent three days trying to set up my rig based on similar advice and I almost cried when my tripod collapsed mid-recording. Drama ensues. But seriously, the tip about testing on your phone is crucial. I thought I looked fine on my monitor but I was invisible on mobile. Life changing realization. Please everyone, check your footage on small screens!