
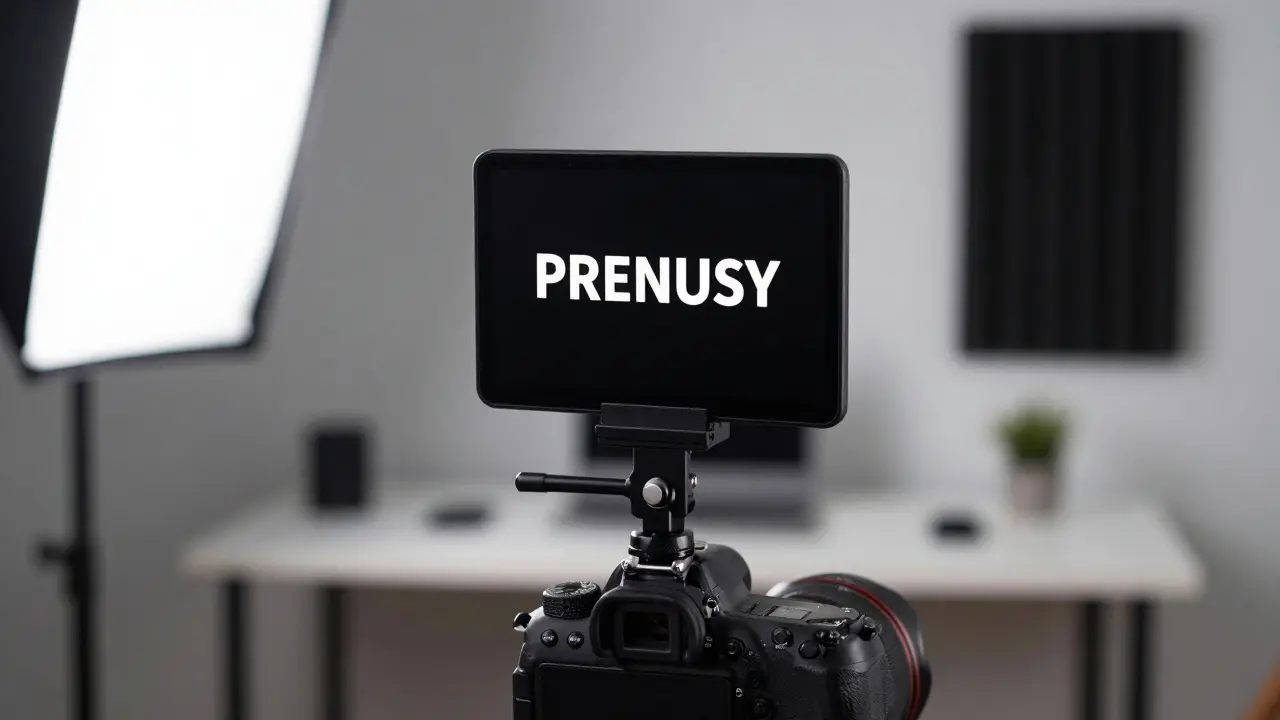
Ever watched an instructor stare blankly at the camera, pausing for awkward seconds while their eyes dart around? It’s distracting. It kills trust. And it makes your great content feel cheap. The difference between a polished professional course and a shaky amateur recording often comes down to one thing: how well you deliver your message.
Using a teleprompter isn’t cheating. It’s a tool that lets you maintain eye contact, keep a steady pace, and sound natural without memorizing hours of material. But setting it up correctly and writing a script that actually works on screen is a specific skill. If you get it wrong, you’ll look like a robot reading a grocery list. Get it right, and your students will feel like you’re speaking directly to them.
Choosing Your Teleprompter Hardware
You don’t need Hollywood equipment to start. In fact, for most course creators, expensive glass-beam splitters are overkill. You have three main paths, depending on your budget and existing gear.
If you want a cleaner look, consider a Tablet Stand positioned directly behind your computer monitor. Place your tablet (running the prompter app) slightly below the camera lens. This allows you to glance down naturally while keeping your gaze relatively centered. It’s less perfect than a beam-splitter but far more reliable than holding a phone by hand.
For the pro setup, you invest in a Beam-Splitter Teleprompter. These devices sit directly over your camera lens. They reflect the text from a screen onto a semi-transparent glass pane. To the camera, the glass is invisible; to you, the text appears floating right next to the lens. This gives true eye contact. Brands like TelePrompterPro offer kits for under $200. It’s worth the investment if you plan to record dozens of videos, as it eliminates the "looking down" distraction entirely.
Writing Scripts That Sound Natural
The biggest mistake people make is writing their teleprompter scripts like essays. They write complex sentences with subordinate clauses, commas, and formal vocabulary. When you read that aloud, you sound stiff. Your brain has to process the grammar before your mouth can speak it, causing those dreaded pauses.
Write for the ear, not the eye. Here is the formula:
- Use short sentences. Aim for 10-15 words per line. Short sentences force natural breathing points.
- Speak in fragments. It’s okay to drop subjects if the context is clear. Instead of "The algorithm processes the data efficiently," try "The algorithm processes data fast."
- Avoid tongue-twisters. If you stumble over a phrase while drafting, change it. Don’t test your diction on air.
- Use contractions. Write "don't" instead of "do not." Write "it's" instead of "it is." Contractions mimic natural speech patterns.
Think about how you explain things to a friend over coffee. That’s the tone you want. If you’re teaching Python coding, don’t say, "We shall now examine the function parameters." Say, "Let’s look at these parameters." Simple. Direct. Human.
Formatting for Readability
How you format the text on your screen matters as much as what you write. Your eyes need to track smoothly without losing their place. A wall of text is a recipe for disaster.
Use a large, sans-serif font. Arial, Helvetica, or Open Sans work well. Avoid serif fonts like Times New Roman; they add visual noise. Set your font size between 48pt and 72pt, depending on how far away your prompter is. The rule of thumb: if you have to squint, it’s too small.
Color contrast is critical. White text on a black background is the standard because it reduces eye strain and looks clean. Some people prefer yellow text on black for higher visibility, but white is safer for most lighting conditions. Never use light backgrounds with dark text; the glare can wash out your face if the screen reflects back into the camera.
Break lines frequently. Do not let a sentence wrap to a second line if you can avoid it. Each line should be a complete thought or a natural breath group. Add extra spacing between paragraphs. Visual whitespace helps your brain anticipate the next section, reducing cognitive load while you’re performing.
Mastering Delivery and Pace
Having the text in front of you doesn’t mean you should read it like a news anchor. Monotone voices put students to sleep. You need energy, variation, and connection.
Pace control is everything. Most teleprompter apps let you adjust the scroll speed. Start slower than you think you need. It’s easier to speed up than to slow down once you’re in the flow. A good benchmark is 130-150 words per minute for instructional content. If you’re explaining complex concepts, drop to 120 wpm. Practice with a timer. Record a 60-second clip and count the words. Adjust until it feels comfortable.
Vary your intonation. Even though you’re reading, you must emphasize key words. Highlight important terms in bold or a different color in your script. When you see the cue, punch that word. Raise your pitch slightly on questions. Lower it on conclusions. This keeps the audio dynamic.
Maintain eye contact. If you’re using a beam-splitter, look at the text. If you’re using a tablet or phone, look at the text, but try to soften your focus so you aren’t staring intensely. Occasionally, glance up at the lens to reconnect with the viewer. Don’t do this every sentence-it looks fake-but do it at major transition points.
Lighting and Environment Setup
Your teleprompter setup interacts with your lighting. If your prompter screen is bright and your room is dark, your camera’s auto-exposure might darken your face to compensate for the bright screen. Or, worse, the screen creates a reflection in your glasses or eyes.
Position your lights so they illuminate your face evenly, independent of the prompter’s brightness. Use two softbox lights at 45-degree angles. Ensure the prompter screen is not facing a window or a bright light source that could cause glare on the glass (if using a beam-splitter). For tablet setups, dim the screen brightness to the lowest readable level. This prevents the blue light from washing out your skin tone and reduces reflections.
Soundproofing is also part of the environment. If you’re reading closely, you might hear the faint hum of your laptop fan or the click of your mouse if you’re controlling the scroll manually. Use a directional microphone (like a shotgun mic or a lavalier) placed close to your mouth. This isolates your voice from ambient noise and the subtle sounds of your equipment.

Troubleshooting Common Issues
Even with the best setup, things go wrong. Here’s how to handle the usual suspects.
The "Dead Eye" Look: If you feel like you’re zoning out, your script is likely too dense. Break it up with visual cues. Insert notes in [brackets] to remind yourself to gesture, smile, or pause. Physical movement resets your mental engagement.
Losing Your Place: This happens when the scroll speed is inconsistent. Disable "auto-scroll acceleration" in your app settings. Keep the speed constant. If you miss a line, don’t panic. Pause, take a breath, and find the last word you remember. It’s better to have a slight jump cut in editing than to ramble trying to recover gracefully.
Dry Mouth: Reading continuously dries out your vocal cords. Keep water nearby. Sip between takes. Avoid dairy or sugary drinks right before recording, as they can create mucus or stickiness in the throat.
Editing Workflow Integration
Record in chunks. Don’t try to film a 20-minute lecture in one go. Break your course module into 3-5 minute segments. This reduces fatigue and makes editing easier. If you mess up a sentence, stop, reset, and record just that sentence again. In post-production, you can splice the clips together seamlessly. This "jump cut" style is standard in online courses and keeps the pacing tight.
Use markers in your teleprompter app. Most apps allow you to set bookmarks. Use them to mark the start of each segment. This helps you organize your footage later. Name your files clearly: "Module1_Intro_Take1.mp4." Organization saves hours of searching through footage.
| Setup Type | Cost Range | Eye Contact Quality | Best For |
|---|---|---|---|
| Smartphone App | $0 - $10 (App) | Fair (requires precise positioning) | Hobbyists, single videos |
| Tablet Behind Monitor | $0 (if you own a tablet) | Good | Budget-conscious creators |
| Beam-Splitter Kit | $150 - $300 | Excellent (True eye contact) | Professional course series |
Can I use my laptop screen as a teleprompter?
Yes, but it’s tricky. You need to position your laptop screen very close to your webcam. Most webcams are built into the top bezel of the screen, which means you’d be reading from below the lens. This causes you to look down. A better approach is to use a second device (phone/tablet) for the prompter and keep the laptop open for reference or recording control.
What is the best free teleprompter app?
Several solid free options exist. "Teleprompter Mirror" for iOS and Android is popular for its simplicity. On desktop, "Easy Teleprompter" offers basic scrolling features. For mobile, "PromptSmart" has a robust free tier. Check reviews for the latest updates, as app interfaces change frequently.
How do I stop sounding robotic when using a teleprompter?
Focus on phrasing, not words. Read in chunks of meaning rather than word-by-word. Vary your volume and speed. Smile occasionally. If you catch yourself sounding flat, stop and re-record that section with more energy. Remember, the audience forgives a minor mistake but rarely forgives boredom.
Do I need a beam-splitter teleprompter for YouTube?
Not necessarily. Many successful YouTubers use tablets or phones positioned carefully near the lens. Beam-splitters provide superior eye contact, but strong content and good lighting matter more. Invest in a beam-splitter only if eye contact is a primary concern for your brand and you have the budget.
How long should my course video segments be?
Aim for 3 to 7 minutes per video. Attention spans drop significantly after 5 minutes. Breaking content into bite-sized chunks improves retention and makes it easier for students to revisit specific topics. If a topic needs 20 minutes, split it into three logical parts.

Comments (9)
Oskar Falkenberg July 13 2026
hey there i just wanted to say that this is a really great breakdown of the whole teleprompter situation because honestly it can be quite overwhelming for people who are just starting out and trying to figure out how to look professional without spending an absolute fortune on equipment that they might not even end up using regularly so kudos to you for laying it all out in such a clear way especially the part about writing for the ear rather than the eye which is something i have struggled with immensely in my own video projects where i tend to write these long winding sentences that sound fine in my head but come out sounding like a robot reciting a textbook when i actually try to speak them aloud and i think many people can relate to that feeling of disconnect between what we want to say and what actually comes out of our mouths when we are staring at a camera lens instead of looking at a friend across a table
Caitlin Donehue July 14 2026
i noticed the bit about dry mouth and realized i probably need to drink more water before recording sessions since my voice gets all raspy after ten minutes of reading continuously
Stephanie Frank July 15 2026
the idea that expensive gear makes you look professional is a total myth perpetuated by companies selling overpriced accessories to insecure creators who think buying a beam splitter will magically fix their lack of charisma or poor content structure because let us be real if your course material is boring no amount of perfect eye contact is going to save it from being ignored by students who have better things to do with their time than watch someone read off a screen with perfect diction while saying absolutely nothing of value
Patrick Dorion July 15 2026
it is interesting to consider the philosophical implications of mediated communication where the tool itself becomes a barrier or a bridge depending on how consciously one engages with the technology rather than letting the technology dictate the flow of human expression which is often lost in the pursuit of technical perfection over authentic connection
om gman July 16 2026
oh wow another guide on how to fake being human because apparently natural speech patterns are too difficult for the masses to grasp without step by step instructions on where to place their smartphone relative to their webcam lens as if anyone with half a brain could not figure out that keeping the text close to the camera helps maintain eye contact but sure lets pretend this is revolutionary knowledge instead of basic common sense that has been known since the invention of television news anchors decades ago
Jeanne Abrahams July 18 2026
back home we used to just speak from the heart and let the words flow naturally without worrying about font sizes or scroll speeds but i suppose in this modern age of hyper optimized content creation we must treat every syllable as a commodity to be measured and controlled rather than a gift to be shared freely among friends and community members who gather to learn and grow together
Bineesh Mathew July 19 2026
the moral decay of society is evident in our obsession with artificial perfection where we sacrifice the raw unfiltered truth of human interaction for the sake of appearing polished and professional in front of a cold unfeeling machine that records our every move and judges us based on metrics of engagement rather than the depth of our character or the sincerity of our intent to educate and inspire others in their journey through life
Marissa Haque July 20 2026
this is absolutely fantastic!!! i love how detailed this is!!! the tips about formatting are so helpful!!! thank you so much for sharing this!!!
Keith Barker July 20 2026
silence is golden but words are silver and gold combined make a strong case for simplicity in delivery